Positron is a new IDE developed by Posit. I’ve been putting off giving it a deep dive. I love RStudio. Maybe it’s the green icons, or the simple 4 box layout, or even just that it’s what I’ve been using for so long but it really feels like a happy place to me.
I was the same way with RMarkdown. You could have torn it from my cold dead hands, but eventually that feature comes along that makes going through the process of changing worth it. And for me with Quarto that was lightbox with its ability to magically resize images. Such a simple thing, such a challenging thing to do outside of Quarto.
Positron in WSL
Check your linux version with uname -m and then install the correct one from : https://positron.posit.co/download.html
I’m on Ubuntu Noble so I had a couple hoops to jump through for one of the system dependencies.
wget https://cdn.posit.co/positron/releases/deb/x86_64/Positron-2025.08.0-130-x64.deb

sudo apt --fix-broken install
sudo apt install libasound2t64

sudo dpkg -i Positron-2025.08.0-130-x64.deb
Open it with: Positron.
Pure magic - opens and works like a dream. Was expecting to have to do more setup with something to get it to open the GUI and am just over the moon at how easy and great the experience was.
First impressions
Changing the theme made it feel like less of a sterile and “other” place. I’m a big fan of dark modes and I actually really liked the built in dark mode.
gear -> theme -> positron dark
There are some good resources for porting your own theme also: https://www.r-bloggers.com/2025/05/porting-my-favorite-rstudio-color-theme-to-positron/
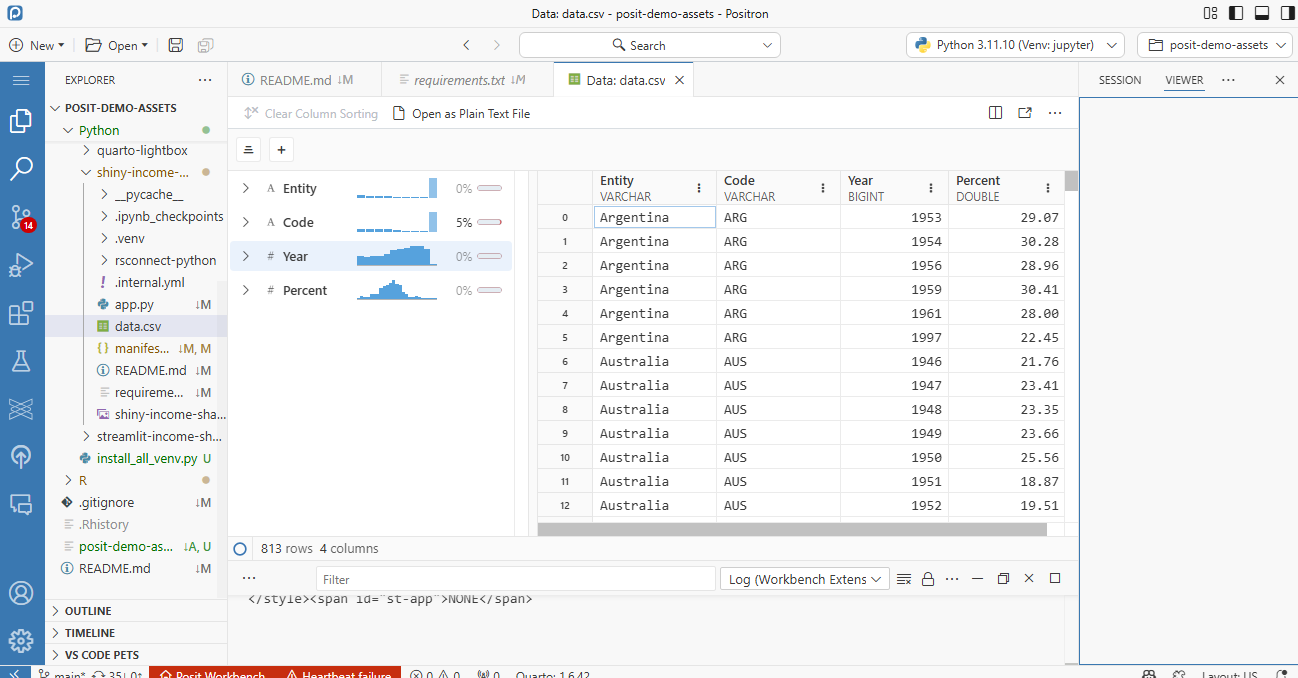
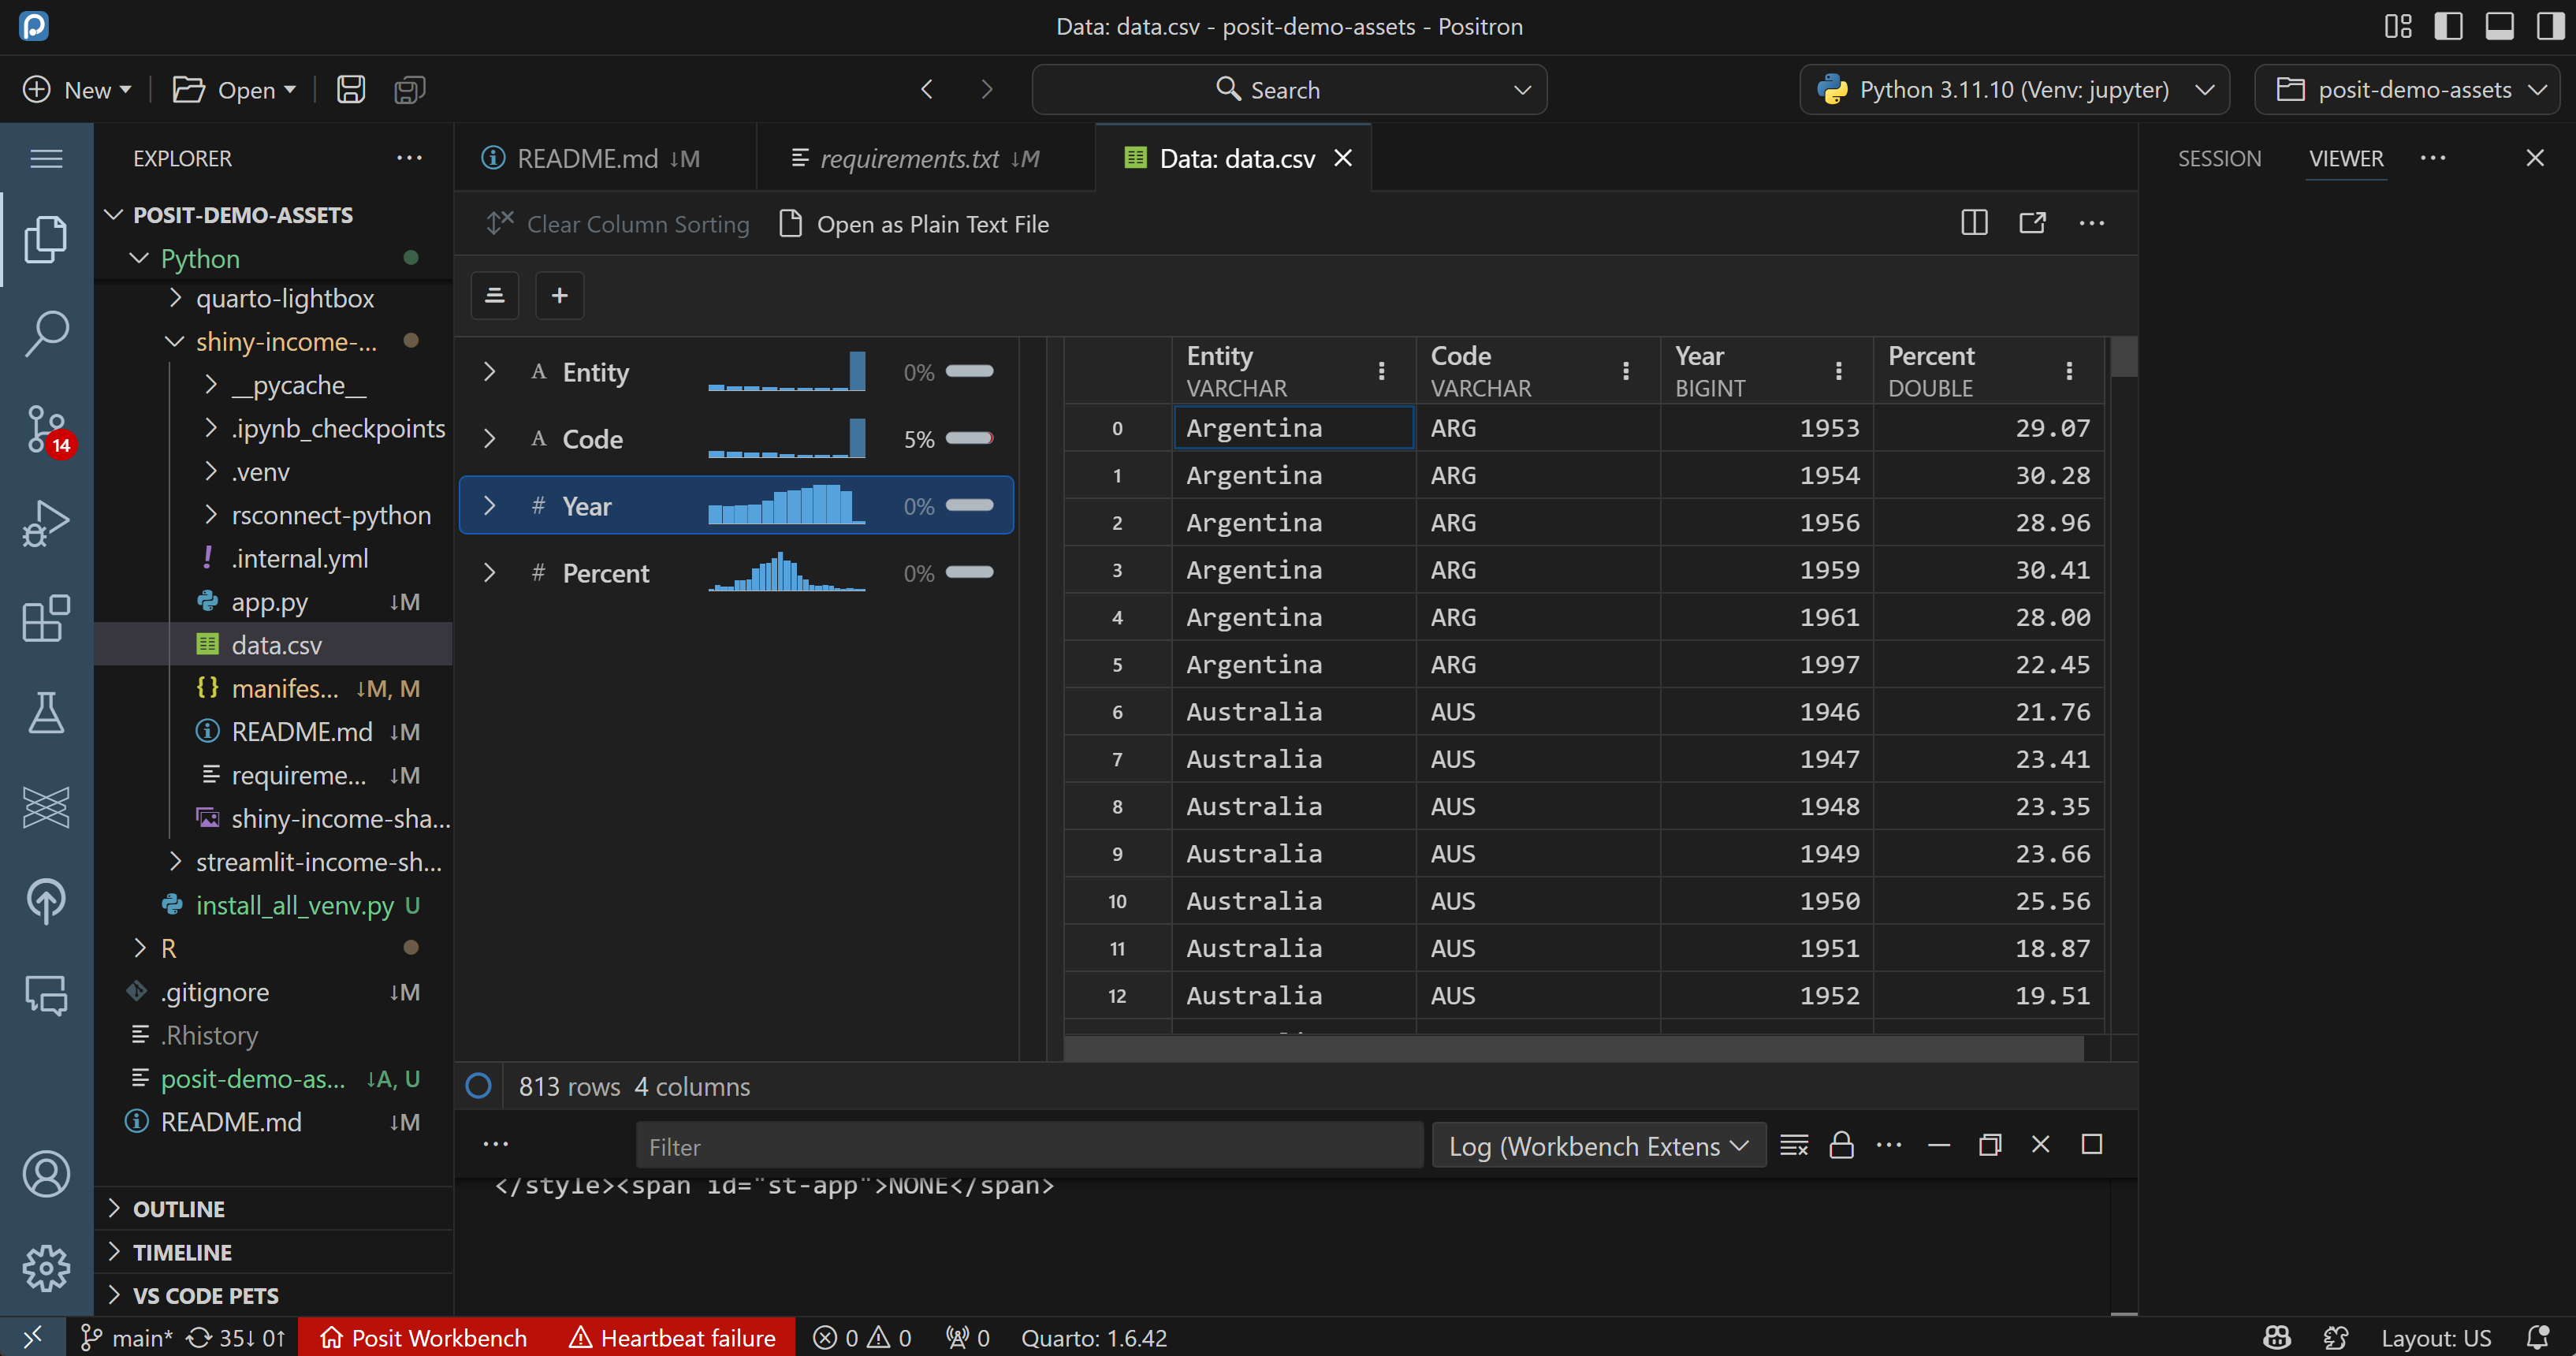
Viewing data
My extensions
Since Positron is a fork of VS Code it relies on extensions for adding various features. Here are some of my favorites:
- Air (R Language Support)
- Posit Publisher
- Black Formatter
- Gitlive
- Pyright
- Jupyter
- Jupter Cell Tags
- Jupyter Keymap
- Jupyter Slide Show
- Project Manager
- Python Debugger
- Quarto
- Ruff
- Shiny
- Scope to this
- vscode-pets
Remote connections with SSH
This is bundled with Positron and there’s no need to install anything.
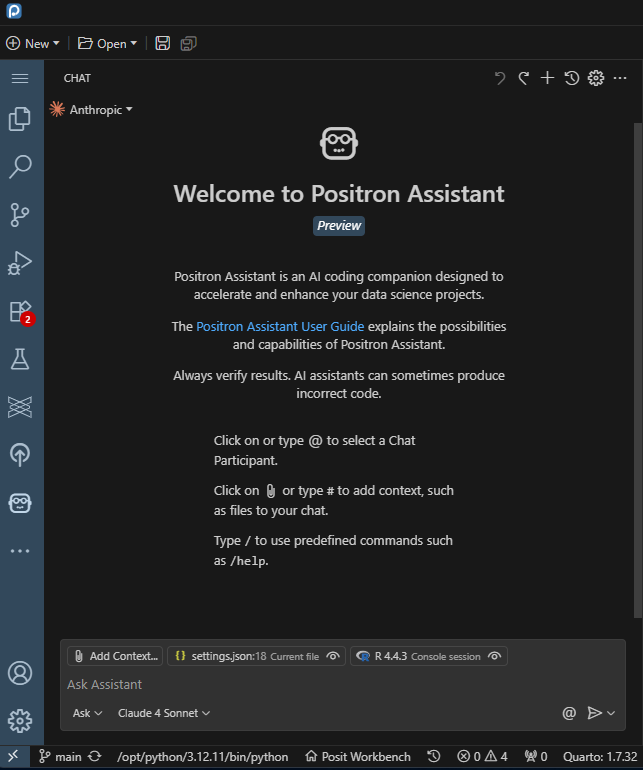
LLM integrations
This was a focus topic during Posit::Conf 2025!
To use a LLM that isn’t supported yet you’ll need to go in and modify a couple parameters as described here. You’ll want to hit the keys command-shift-p to open the settings menu and then click on open user preference (json) and update it to have the appropriate settings, which might look like this:
settings.json
{
    "extensions.autoCheckUpdates": "false",
    "extensions.autoUpdate": "false",
    "positron.environment.enabled": "false",
    "python.environmentProviders.enable": "map[Conda:false]",
    "python.interpreters.exclude": "[/usr/bin /bin]",
    "quarto.path": "/usr/lib/rstudio-server/bin/quarto/bin/quarto",
    "terminal.integrated.defaultProfile.linux": "bash",
    "remote.autoForwardPorts": false,
    "posit.workbench.showWorkbenchHint": false,
    "workbench.colorTheme": "Default Positron Dark",
    "files.associations": {
        "renv.lock": "json"
    },
    "positron.assistant.enable": true,
    "positron.assistant.testModels": true,
    "positron.assistant.copilot.enable": true,
    "positron.assistant.enabledProviders": ["amazon-bedrock"]
}
Positron and R
In Positron cmd shift 0 will restart your r session
Running a python project
Reference: https://positron.posit.co/start.html
I’m a big fan of using the git integration to clone down a project, for example this set of demo examples.
We’ll want to make sure that ipykernel is installed:
python3 -m pip install ipykernelWe can discover which python versions we have access to with:
ls /opt/python/Select the python interpreter
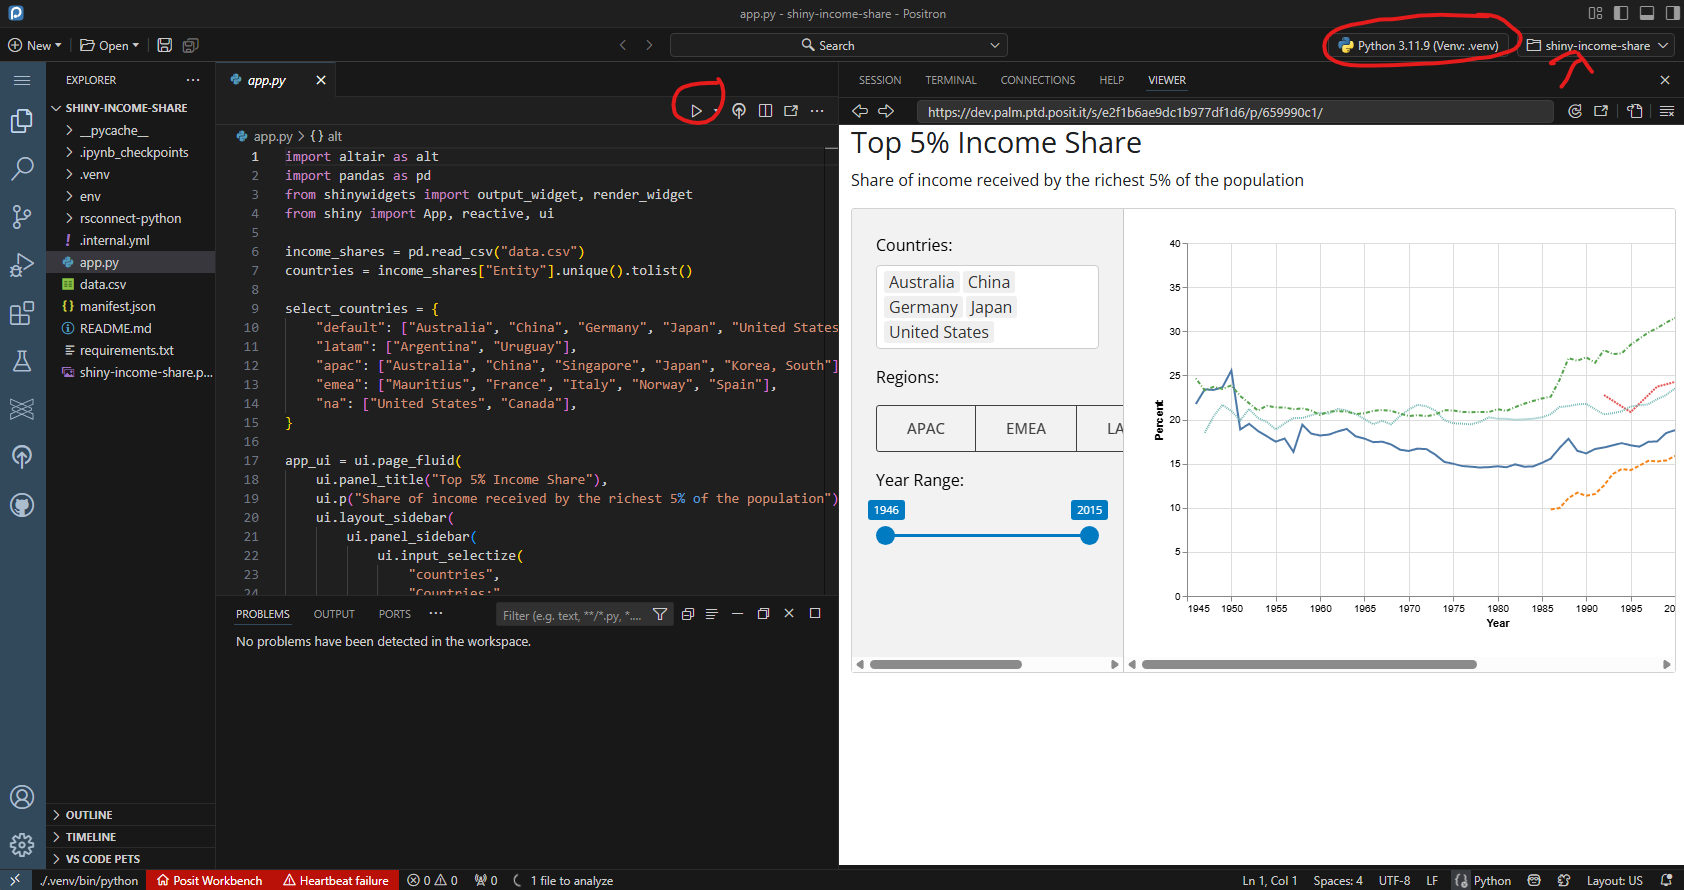
Manage the interpreter in the session (virtual environment) through the top right icon:

Reference: https://positron.posit.co/managing-interpreters.html
You can also manually select the python interpreter with ctrl-shift-p and then Python: Select Interpreter command and select the Enter interpreter path... option.
This gives you the ability to refresh the visible interpreters with the circle arrow symbol.
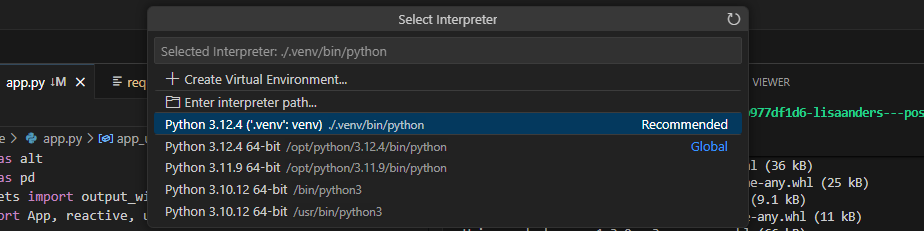
We can create a new interpreter (and then select it through the dropdown) either with uv or pip.
The uv way
Use uv. It will detect that this is a project and create the venv for us when we go to run the application.
Install uv:
wget -qO- https://astral.sh/uv/install.sh | shCreate the uv project:
# Check what python versions you have access to
ls -1d /opt/python/*

# Create the uv project, this example declares the python version to use explicitly. Make sure this matches a version you have access to.
uv init --app --python 3.10.16

# create the venv
uv venv

uv pip install databricks-connect
If using a specific version of python make sure it is called out both in the .python-versions file and the pyproject.toml file
If using a specific version of databricks-connect then make sure that the version needed is called out in the pyproject.toml file like this:
dependencies = [
    "databricks-connect==14.3.3",
]
You can also use uv to install a particular version of python:
uv python install 3.12

uv init --app --python 3.12.10

# view available python versions
uv python list
After changing anything be sure to run uv sync.
Activate the virtual environment
source .venv/bin/activateRun the application:
uv run app.py
uv run shiny run --reload app.py
To lock dependencies declared in a pyproject.toml into the requirements.txt file:
uv pip compile pyproject.toml -o requirements.txtFrom inside vs code to open the python as a console that’s using your venv click the plus symbol -> start antoher -> click on your venv
The pip way
Setup the venv environment:
python -m venv env
. env/bin/activate
# source env/bin/activate
pip install --upgrade pip
pip install -r requirements.txt
I recommend using env instead of .venv because quarto will automatically pick it up.
Run the application:
shiny run --reload app.pyRegister new interpreter as kernel (likely optional)
# Register as kernel
pip install ipykernel jupyter
# python -m ipykernel install --name "my-new-project_venv" --user
python -m ipykernel install --name "shiny-income-share" --user
Running and previewing an app
Open the folder so that the root directory is the content example you want to run.
Make sure the appropriate virtual environment has been created (following the steps above) and selected as the interpreter.
Click the play button to launch the application.
Creating a new project
The pip way
Create a venv to isolate environments and generate a requirements.txt file so that only the minimum packages needed to support your project are included. Read this for more on Python package management.
python3 -m pip freeze > requirements.txt
python3 -m pip install -r requirements.txt
The uv way
Create a manifest.json file to support git-backed publishing
For uv projects, they can be initialized and updated with (change format and packages as needed):
    uv init --app --python 3.12.6
    uv add numpy matplotlib jupyter
    uv sync --upgrade
    uv export -o requirements.txt --no-hashes
    uv run rsconnect write-manifest api .

    # Dev dependencies may need to be added
    uv add --dev uv ipykernel
Deploying
Reference the Posit Connect User Guide: Shiny for Python
Using Posit Publisher
Make sure the Posit Publisher extension is installed.
Click new deployment and follow the screens to add your developer information and an API key.
Make sure to add any files that need to be included in the bundle to (1) the .toml file (2) the project files list.
For example, the .toml file might look like:
# Configuration file generated by Posit Publisher.
# Please review and modify as needed. See the documentation for more options:
# https://github.com/posit-dev/publisher/blob/main/docs/configuration.md
'$schema' = 'https://cdn.posit.co/publisher/schemas/posit-publishing-schema-v3.json'
type = 'python-shiny'
entrypoint = 'app.py'
validate = true
files = [
  '/app.py',
  '/data,csv',
  '/requirements.txt',
  '/.posit/publish/shiny-income-share-positron-FLKH.toml',
  '/.posit/publish/deployments/deployment-NVOJ.toml',
  '/data.csv'
]
title = 'shiny-income-share-positron'

[python]
version = "3.11.9"
package_file = "requirements.txt"
package_manager = "pip"
Reference: https://github.com/posit-dev/publisher/blob/main/docs/configuration.md
rsconnect-python CLI
# With uv
uv run rsconnect deploy shiny .
# Without uv
rsconnect deploy shiny .
Git-backed
Update the code, and then run:
# With uv
uv export -o requirements.txt --no-hashes
uv run rsconnect write-manifest shiny --overwrite .
# Without uv
pip freeze > requirements.txt
rsconnect write-manifest shiny --overwrite .
Commit the new manifest.json file to the git repo along with the code.
Resources
Inspired by: https://www.andrewheiss.com/blog/2024/07/08/fun-with-positron/
Also useful: https://blog.phle.dev/posts/python-setup-2024/index.html